Incredible Eric!! I'm looking forward to helping you out one day this summer when we head up to our house in New Hampshire! You create some really amazing things! Keep sharing the pics!
Thanks guys, it's time consuming but worth it in the end when the scene is finished. Also everyone has a lot of fun building these one of a kind props.
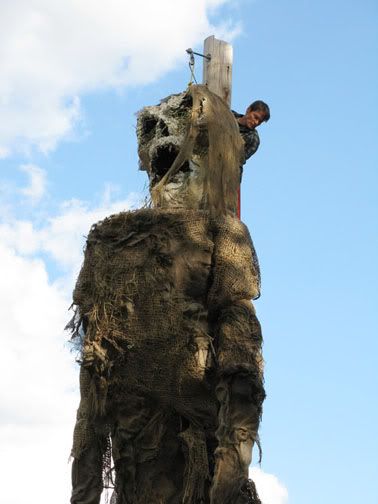
Well, Eric we did use our pumpkin heads last year on top of the poles this year we will work on getting the bodies in place. What did you make the torso from to puff it out? I will attach pics when complete.:mrgreen:
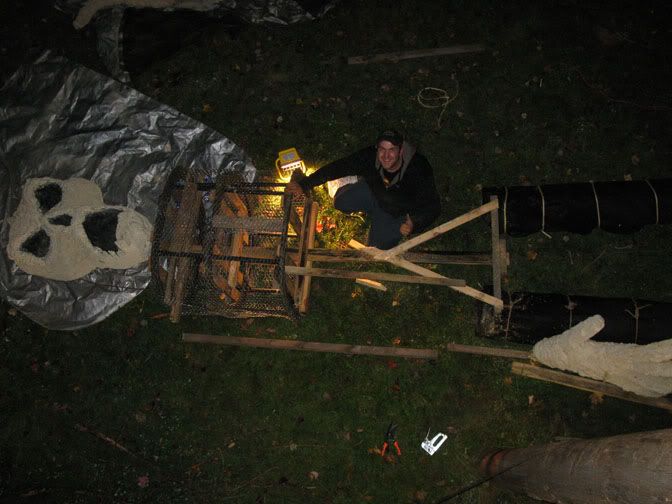
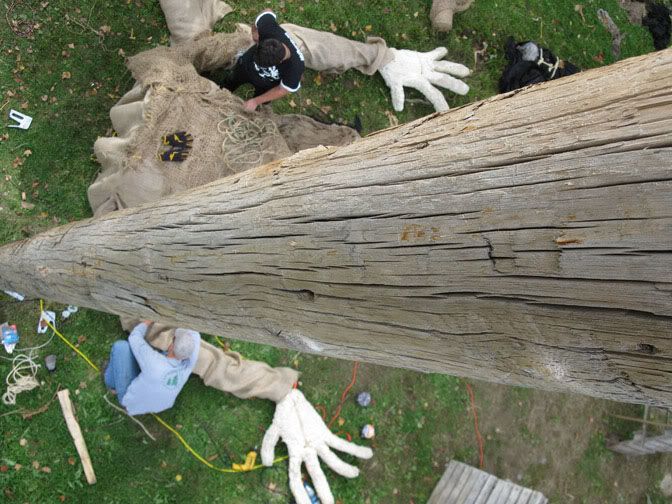
I have used a wooden frame with corn stalks tied tightly together in the past for the giant 34 foot figures. You can also use a chicken wire frame, branches, burlap, cloth or anything you think will work and be sturdy enough for the weather. These smaller figures will have 2x4 frames with wire mesh to fill them out.
Here are some photos that may help show the frame and structure of the bigger figures.
Super work!!!!! Love the pumpkins! I see they are made of foam and are somewhat hollow. Can you give a few tips on how exactly to make one? I have a pumpkin patch and would love to make a few of your pumpkins. Also why do you coat it in roof tar? Thanks for any help with this!
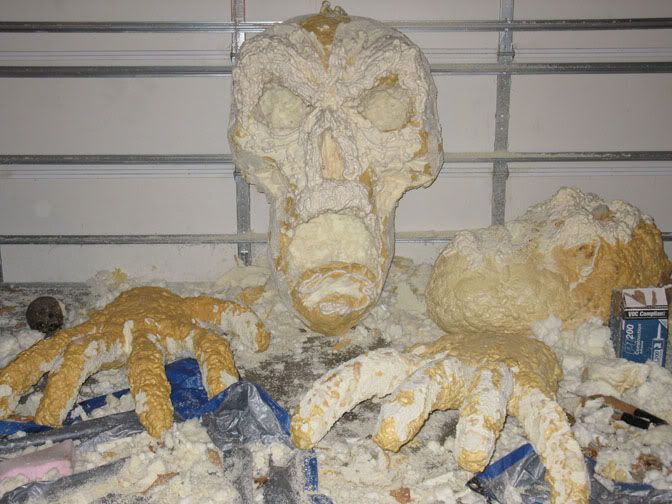
A lot of what I do is trial and error. These particular pumpkins because of their size were made by having a foam insulation company spray a ball of open cell soft foam first. Then I carved it smooth with a wood rasp. A top coat of closed cell harder foam was sprayed on top and carved the same way. It acted like a real pumpkin because I could carve the face and pull out the soft foam in the middle. The roof tar was an experiment and I doubt I will use it again. I like Liquid Nails for the protective coating then house paint and spray paint for the finish coat. The Liquid Nails fills in some of the holes and gaps. I like to leave a lot of the imperfections because it looks more like a real pumpkin that way.
Here is a video Kyle Aruda made for his senior project that goes step by step how to make a pumpkin with Great Stuff and a balloon. I like this method. These are not that cheap to make but each one is an original. Return paint from Home Depot $5.00 a gallon is used in this video for the first coat, that's why the strange color.
These are a ton of fun to make. Eric helped a ton with this project.
I used a bigger balloon that I had to buy at a party store for the size of the pumpkin. Shaping it after the foam dries will kill your hands! It's tedious, and you'll always find an imperfection- but if you look at real pumpkins, there are not any that are perfect.
The first coat of latex paint helps strengthen and seal the pumpkin. The black just gives the final color a nice pop. I used a lighter yellowish-orange inside and a darker orange on the outside.
I'm thinking about making another one this summer! I'll make a more detailed video if I do.
AWESOME!!!!! Thank you for the quick reply. I am going to give this a try. You are all so very talented!!! Thanks again! And a huge yes! to another video. Love your work!
Looking good Ed! You must have used a ton of Great Stuff. How was the pumpkin received? Did your neighbors like it?
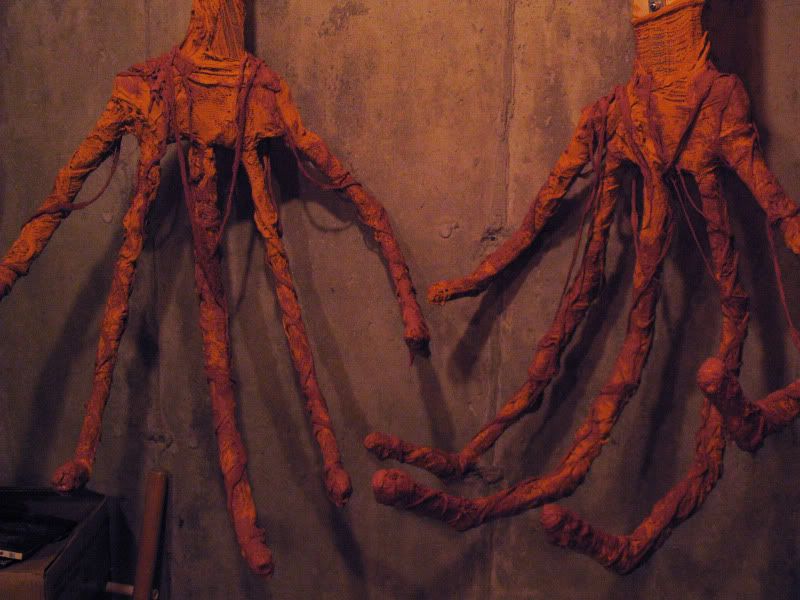
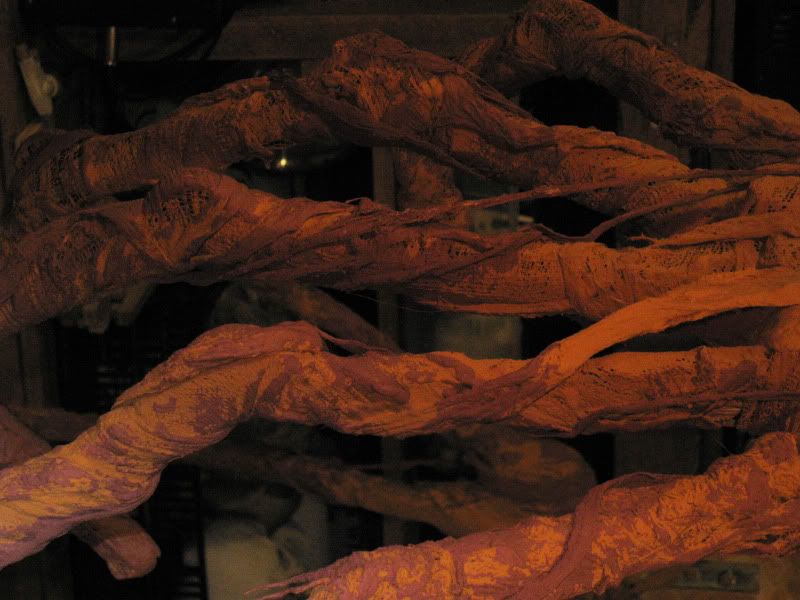
Here are a few more shots of the detailing of the new hands. Many steps to go, the veins will really pop with the final paint job. This will all be painted black first then I will bring out the highlights with a dry brush effect.
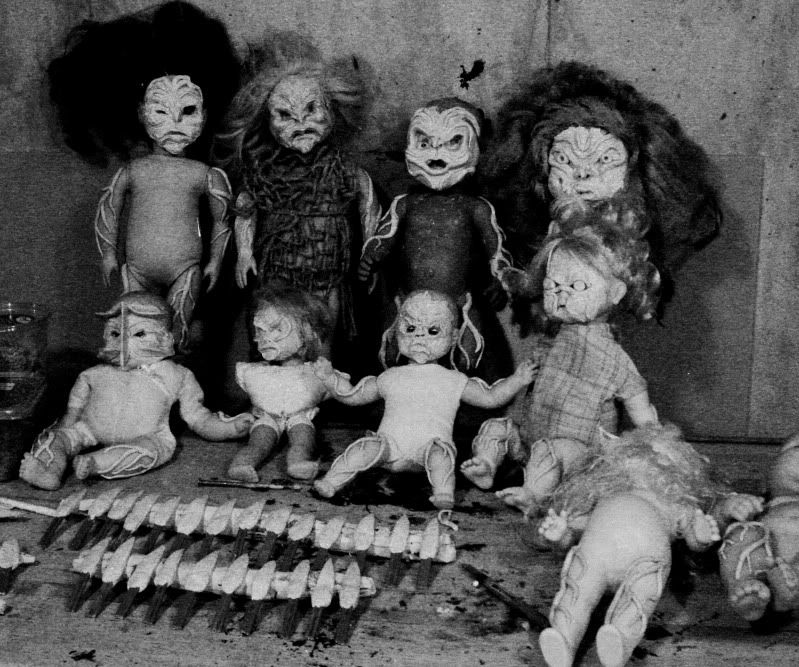
Creepy dolls in progress. Also sharp fingernails for the pumpkin hands on the table in front of the dolls.
That's awesome Ed! Did you take the TW seminar? The price of 70 cans is not that bad when you consider it is a one of a kind custom prop that can be used for years. Also the satisfaction of making it yourself is priceless. Not to mention the lessons you learn along the way.
 Tweet
Tweet


Comment