

How to Make a Haunted House Halloween Corpse
By Michael J. Chaille
Haunted Attractions, like any produced event, can take on a life of their own as all the pieces of the production slowly come together. Annual attractions that slowly ramp up from dormancy in mid summer have construction concerns, permits and hiring on the front burner while core elements are left simmering in the background, sometimes forgotten and often addressed at the last minute. One of these elements is prop décor. Challenged by low funds, lack of expertise and dwindling time, props are sometimes an expendable part of the production. While many props and techniques are repurposed for any number of scenes that are developed annually by most haunted attractions, this article will focus solely on hand build-up corpses.

Prior to the 2003 season, the word corpse, (as it pertains to the Haunted Attractions prop), could conjure up any number of images with regard to materials used, construction, and technique; all relating to how the event is themed. A realistic looking corpse required time, skill and a budget to produce. These concerns were no doubt alleviated with the debut of Ghost Ride Productions’ Bucky Skins TM and Bucky Lids TM at the 19th Annual National Halloween and Costume Tradeshow in Chicago last March.

Previously, corpse build-up would involve an exotic array of products or outdated kits that offered very little variation or simple customization. A hardware store list of materials that included foams, sealants, cotton batting, filler, latex etc…. would require many hours of construction, drying, layering and eventually painting. This process would naturally have varying degrees of success, as the finished props were ultimately subject to the skills the employee possessed to create the corpse that the attraction required.

While most Dark Attraction suppliers were out to create the latest, greatest must-have finished prop for the 2003 season, Ghost Ride instead focused on creating a new process for one of the industries core prop needs. Understanding that 4th class BuckyTM skeletons, (produced by the Anatomical Chart Company), were used by most attractions for prop build-up, Ghost Ride concentrated on inventing a simple conversion kit for the popular Bucky Skeletons. The goal was to create an easy to follow corpse-building kit that required very few materials, involved the utilization of skeletons that prop production units already had and could be accomplished by even the most novice work force.

The conversion ‘kit’ is known as the Bucky Skins TM and Bucky Lids TM system. This innovative kit proved to be a quick and easy solution for converting a Bucky Skeleton into a realistic looking corpse in minutes instead of hours. This system, on the market for almost a year, produced consistent, realistic results, and more importantly, saved time & money.

So how does one go about transforming an articulated, resin skeleton replica, (the Bucky), into a corpse or even a mummy? As outlined earlier, there are a multitude of involved processes that require a certain level of expertise and confidence. One such process includes layering and building up of various materials on a corpse armature (the Bucky) to produce a believable human form. Bucky Skins TM replace all those build-up steps by providing a set of detailed latex skins that are matched to each individual part of the Bucky Skeleton. Simply brush or spray on an adhesive to the Bucky Skeleton bones and attach the corresponding skin. The Bucky Skins TM set includes ten individual body skins that are divided left and right, front and back for easy identification. The Bucky Lid TM slips over the skull and is a single piece, like a rubber mask. It is designed with an opening at the neck, large enough to stretch over the Bucky skull. There are 14 different Bucky Lids TM available and each can instantly change a stark white skull into a corpse with character. The kit comes with complete instructions and even details how to finish paint and add hair. Just about anybody can create a highly detailed corpse ready for the set in about an hour. As a companion to the Bucky System, Ghost Ride has produced videos on the subject of applying Bucky Skins TM and techniques for customizing, reinforcing and expert finish painting and aging.

Before we get into the steps of Building a Bucky Skin corpse, lets look at what makes this system so revolutionary. A major timesaving is due to the finished detail that is already in the skins. Some of Hollywood’s finest effects artists were used in the development of these skins. Highly detailed, textured skins mean less time required for creating that finished detail. Because the latex skins are thin and are adhered over the Bucky bones, sections of the latex skins can be cut away to expose bones and increase decay. While originally designed to reveal the Bucky bones that lie beneath, you can apply the Bucky Skins TM any way that best suits your theme. Simple modifications will produce very dramatic differences in the finished product, with or without paint. This allows for each Bucky to be completely unique, while only purchasing one product. A substantial reduction in materials means less time is spent on learning the processes of build-up, so just about anybody can participate. No longer is an event solely dependent on one artisan or effects builder to finish a scene. Anybody can get professional results in a short time with Bucky Skins TM.

Money savings start with the purchase of just one product kit that can be easily converted into any number of styles of corpses with reliable results. Additionally, the skins can be added to existing Bucky skeletons, even if they already have an unwanted corpse finish. Because the lids are fitted, no adhesive is necessary, so lids can be interchanged year after year as your scenes change.

With increased detail and less time and money spent to achieve it, more resources can be focused on other aspects of your event. Ultimately the attraction guests will experience higher degrees of realism and detail that can lead to a higher value event.

BUCKY LIDS TM are the fastest way to change any Bucky skull. For a more custom look, you can trim away any part of the latex lid so that the resin under-skull is exposed. Remove eyes, teeth, skin sections, top of the head, anything to make your corpse unique and original. When paint is finally applied the skull that is exposed will appear to have a different aging as opposed to the latex skin, all with only one coat of paint applied.

To apply the lid to the skull, hold the Bucky skull in front of you with the skull facing away, and position the chin of the skull into the Bucky Lid opening, lining up the skins’ chin with that of the skull. (Figure 1-A,B,C,D,E) Gently stretch the Bucky Lid over the top of the skull. The face will slide into place – slight adjustments may be necessary to position eyeholes directly over eyes, etc. Try to line up the bridge of the nose first, and then work from there. If further adjustments are needed, try cutting away more of the latex so the skin is less taut.

BUCKY SKINS TM are made up of several parts that are designed to be attached with spray adhesive. Ghost Ride’s own Cob Webs in a Can (CWIC) works great for this, or you can use any 3M-type spray adhesive. Try 3M 74 or 3M 90. (Figure 2).
Like any kit, it is best to arrange all the skin pieces and determine which pieces match each section of the skeleton. Some may prefer to disassemble the Bucky skeleton to adhere skins; others will not want to bother. Either process will work. If you decide to leave the appendages on during the skin application, small slits will have to be made in the torso skin to accommodate the arm and legs sockets. The arms and legs are manufactured so that the front side is paired with the backside. (Figure 3)

You’ll need to cut these sections apart. Leave a small section of the smooth flashing along side the detailed texture of the skins. (Figure 4)
Only trim right up to the skin detailed texture after you have test fit or secured the skins. (Figure 5) This allows for differences in Bucky shapes and variations and compensates for any latex shrinkage.

Now that all the parts are identified use a sharp pair of scissors to trim the flashing off the skins, leaving any extra flashing beyond the texture in the skin as described above. Make irregular cuts in the trimming of the flashing, as straight lines tend to look unnatural. You should end up with 10 individual latex skins. It is easier to attach the back panels of the Bucky Skins TM first as you will want to blend the seams and wrap the skins from front to back. If you want to cut away any of the skin to reveal underlying bone and skeleton detail, now is the time to do it. (Figure 6)
Simply cut out any smooth bone portions of the skin prior to adhering to the skeleton. This might take some shifting for certain parts to line up, but you will find that the skin is completely adjustable on the form and will allow for shifting. This can be done anywhere the bone meets the skin and is the single most effective way to make your finished skeleton look unique. This exposing can be done later, but it is easier when the skins are not attached.
Always test fit all your skins prior to applying any adhesive. Starting with a clean, dry Bucky Skeleton, locate the back right leg skin, (the backs have the heel). Test fit the piece by inserting the skeleton heel into the skin heel socket. (Figure 7)
Now line up the skin and make note of where the skin covers and the direction of the bones. Before you spray the adhesive on the skeleton bones that are to be covered by the skin, read and follow the adhesive instructions on the label. As a general rule, two light coats on the bone and skin will adhere more aggressively then one heavy coat. Do not worry about over spray if you are using CWIC as the yellowing adds to the aged look and increases texture. Skins typically have at least one pocket that will aid in keying onto the skeleton. Use these landmarks to aid in identification and to speed up your application. Spray adhesive lightly on the inside of the skin, including the heel socket. You will have a little time to make adjustments, so work fast. Line up the heel socket and work your way down to the toes and up to the hip socket. (Figure 8)
Add additional adhesive if necessary. Blend the edge of the seams by rolling onto the bare bone, keeping wrinkles to a minimum. (Figure 9 & 10)
You will be covering this seam later with the front side skin; so don’t worry too much about the look during this stage. Do the same with the arm, adhering the backsides first. Work up from the fingertips towards the armpit. Skin can be stretched, cut or pulled to cover as much of or as little of the bone as needed. Skin on the fingers can be tricky. Apply adhesive to the hand bones and the skin. When tacky, carefully set skin onto the fingers and work your way toward the palm. Keep the fingers separated and centered within the finger skin. It is easier and cleaner to then slice the finger flashing right down the middle when the adhesive has set. Then roll the excess flashing around the finger. Trim any excess if the fingers get too bulky.

Carefully examine the arm skins and choose the back side arm skin. Trim the flashing. Test fit and space out bone fingers to permit good adhesive coverage. (Figure 11-A) Apply skin by lining up the fingertips first and work your way towards the palm of the hand. Mate the wrist joint to the skin and work your way up the arm, making sure the joints of the elbow are aligned. This is a very tight fit, so take time to stretch the skin to fit if necessary. The adhesive should allow you to pull up the skin if you need a second or third attempt. When all backside skins for legs and arms are attached (Figure 11-B), do the same procedure for the front skins.
The front skins will require a closer trim of the flashing, as the front skins are to be applied over the bone and overlap the backside skin. The final withered look of the skin will blend imperceptibly into the backside seam. Paint will only further mask any seams. If you are using the Cob Webs in a Can as an adhesive, or any other adhesive that is light in color, then don’t concern yourself with adhesive over spray. Over spray of adhesive can add texture and will not damage the final look. Coat both the skin and the bone as before. Blend the edges by rolling the front skin onto the back skin.
(Figure 12-A thru B)

Follow the same pattern for right and left leg, this time start at the kneecap and work your way up towards the hip and down to the foot. (Figure 13)
Now that all the appendages are attached it is time to work on the back torso. Attach the torso in the same manner, starting with test fitting then add adhesive. Cut out any sections where you want to expose bone. It is best to work from the crotch up towards the shoulder blades while following the spine. These structures all key into the skins nicely. (Figure 14)
The front torso skin is best lined up with the hips, laying the skin upward toward the lower rib cage across the sternum and to the clavicles. The front torso can be glued in sections, as you will want to stretch the skin allowing the seam to wrap all the way around to the back of the Bucky. Trim any smooth flashing at this point. If you are adding clothing, don’t be concerned with this blending; just make a good attachment. Check for seams that need further attachment and allow to dry completely before moving on to painting.
One of the final details that are often overlooked is the creepiness of hair. Full wigs can be used, but they are seldom convincing and are an added cost. Instead, take a few minutes to learn how to lay a few wisps of loose hair. You will be surprised how just a small amount can make a dramatic statement. Adding hair in stringy patches is more effective then a full head of locks. It is best to lay the hair after the paint is fully dry, but for the purpose of demonstration, I have layered this hair on a raw skin so better detail can be seen.
Use the spray adhesive to attach either wisps of loose hair or patches of fabric-backed hair. Loose hair looks the best, and can either be crepe hair or loose synthetic fibers (the type used for hair weaving can be very inexpensive at beauty supply stores). Apply adhesive to the entire skull area that is to receive the hair. Next, always use the same hand to handle the hair and the other to handle the adhesive. This sounds obvious, but it is the key to a clean application. Have a pair of scissors to trim and set the hair. It is usually best to apply loose hair from the base of the neck working your way up to the top of the head. Remember, less is creepier. These stages are in three steps and they follow the same pattern:
- Pick up hair fibers and spread an even layer in one hand about 2 –3 “ wide extended beyond your fingertips.
- Trim the ends for stray and uneven fibers.
- Spray with a light coat of adhesive.
- Apply to skull following a downward application.

Use the dull side of the scissors to press the fibers into the adhesive. This will keep your hands clean and the hair on the skull. (Figure 15-A thru D)
The final unpainted Bucky Skin TM corpse is seen in Figure 16.Ready to be painted, this corpse is fully posable and almost ready for a haunted scene.Look for the next issue of HauntWorld for the follow up article on how to finish paint the Bucky Skin TM corpse.While this article covered the major points of construction, it clear that most of the hard work and build-up is left to a minimum.The Bucky Skinsystem can guide anyone through the principle techniques in creating a custom corpse and helps avoid the pitfalls of spending an excess amount of time on any one prop.It’s much easier when the details are provided for you.
Michael J. Chaille is Founder and President of Ghost Ride Productions, INC. (GRP), and the inventor of the Bucky Skin System TM. GRP has been developing and designing dark attractions and themed events professionally since 1995. GRP began with a mission to manufacture and market innovative, specialty products for Halloween events and theme parks. Further instruction on Bucky Skins or body form construction can be found on GRP’s website at www.ghostride.com.
Trending blog
We just visited Brighton Asylum where the owner took us behind the SCREAMS! We take a tour of the entire haunted attraction located in New Jersey. We learn all the secrets, see al

Transworld Haunted House show is NOW happening in St Louis Thursday thru Sunday. We took a complete walk thru the show before the show started. Check out the entire show floor to see all t

The Darkness haunted house announced their last haunted house tour for the Transworld Haunted House and Halloween Tradeshow. March 26th 27th and 28th, 2026 in St Louis, Missouri during the 2
Today we visited The Dent Haunted Schoolhouse in Cincy Ohio! This video showcases The Dent Schoolhouse with LIVE ACTORS! Keep following Hauntworld for more behind the scream videos of the
Today we visit the legendary Darkness Haunted House in St Louis Missouri. We walk thru the attraction with LIVE ACTORS! See tons of videos for the rest of the Halloween season as we exp

Haunted House Review America's Best Haunts of 2025 Follow Hauntworld.com on YOUTUBE where we go behind the SCREAMS at America's Best Haunted Attractions CLICK HERE TO WATCH HAUNTWO
Be sure to like and subscribe to The Hauntworld Youtube page to get up to date Haunted House tips and more. Watch this video where we showcase the all-new Alien Escape Room and a Horror Themed S

Transworld 2025 has come and gone. We look back at The 2025 Transworld Haunted House tour with this wrap up video. The tour included St Louis Escape - Lemp Haunted House and The D

Transworld 2025 Haunted Attraction Show comes to St Louis again February 27 thru March 2nd, 2025. The Darkness announced they will launch their biggest haunted house tour EV
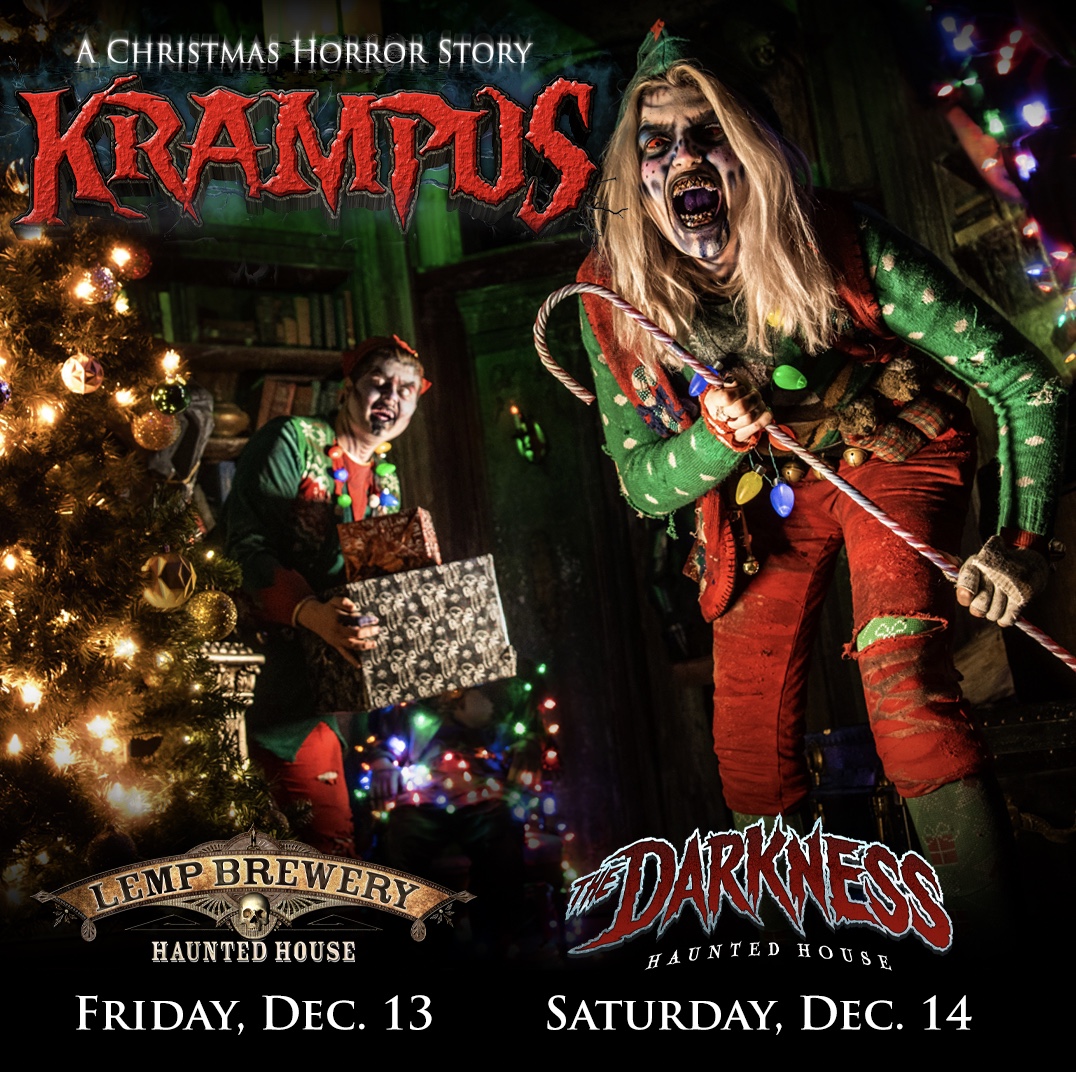
The Darkness opened for Krampus and we took a camera thru the entire haunted house. See all the Krampus screams and scares at The Darkness downtown St Louis Missouri. Th
Trending Articles

Hauntworld ranks the top scary places in America to get SCARED and Scream for 2025. The best and top rated haunted houses, and Halloween Attractions in America. Did we rank a haunted house near you find out by clicking on this article.

Hauntworld ranks the top scary places in America to get SCARED and Scream 2024. The best and top rated haunted houses, and Halloween Attractions in America. Did we rank a haunted house near you find out by clicking on this article.

Icons of The Haunted Attraction Industry - Hauntworld Names the Top 10 Icons of the Haunted House Industry. See which haunted attractions currently in operation are named the ten biggest ICON haunted attractions.

Hauntworld ranks the top scary places in America to get SCARED and Scream 2022. The best and top rated haunted houses, and Halloween Attractions in America. Did we rank a haunted house near you find out by clicking on this article.

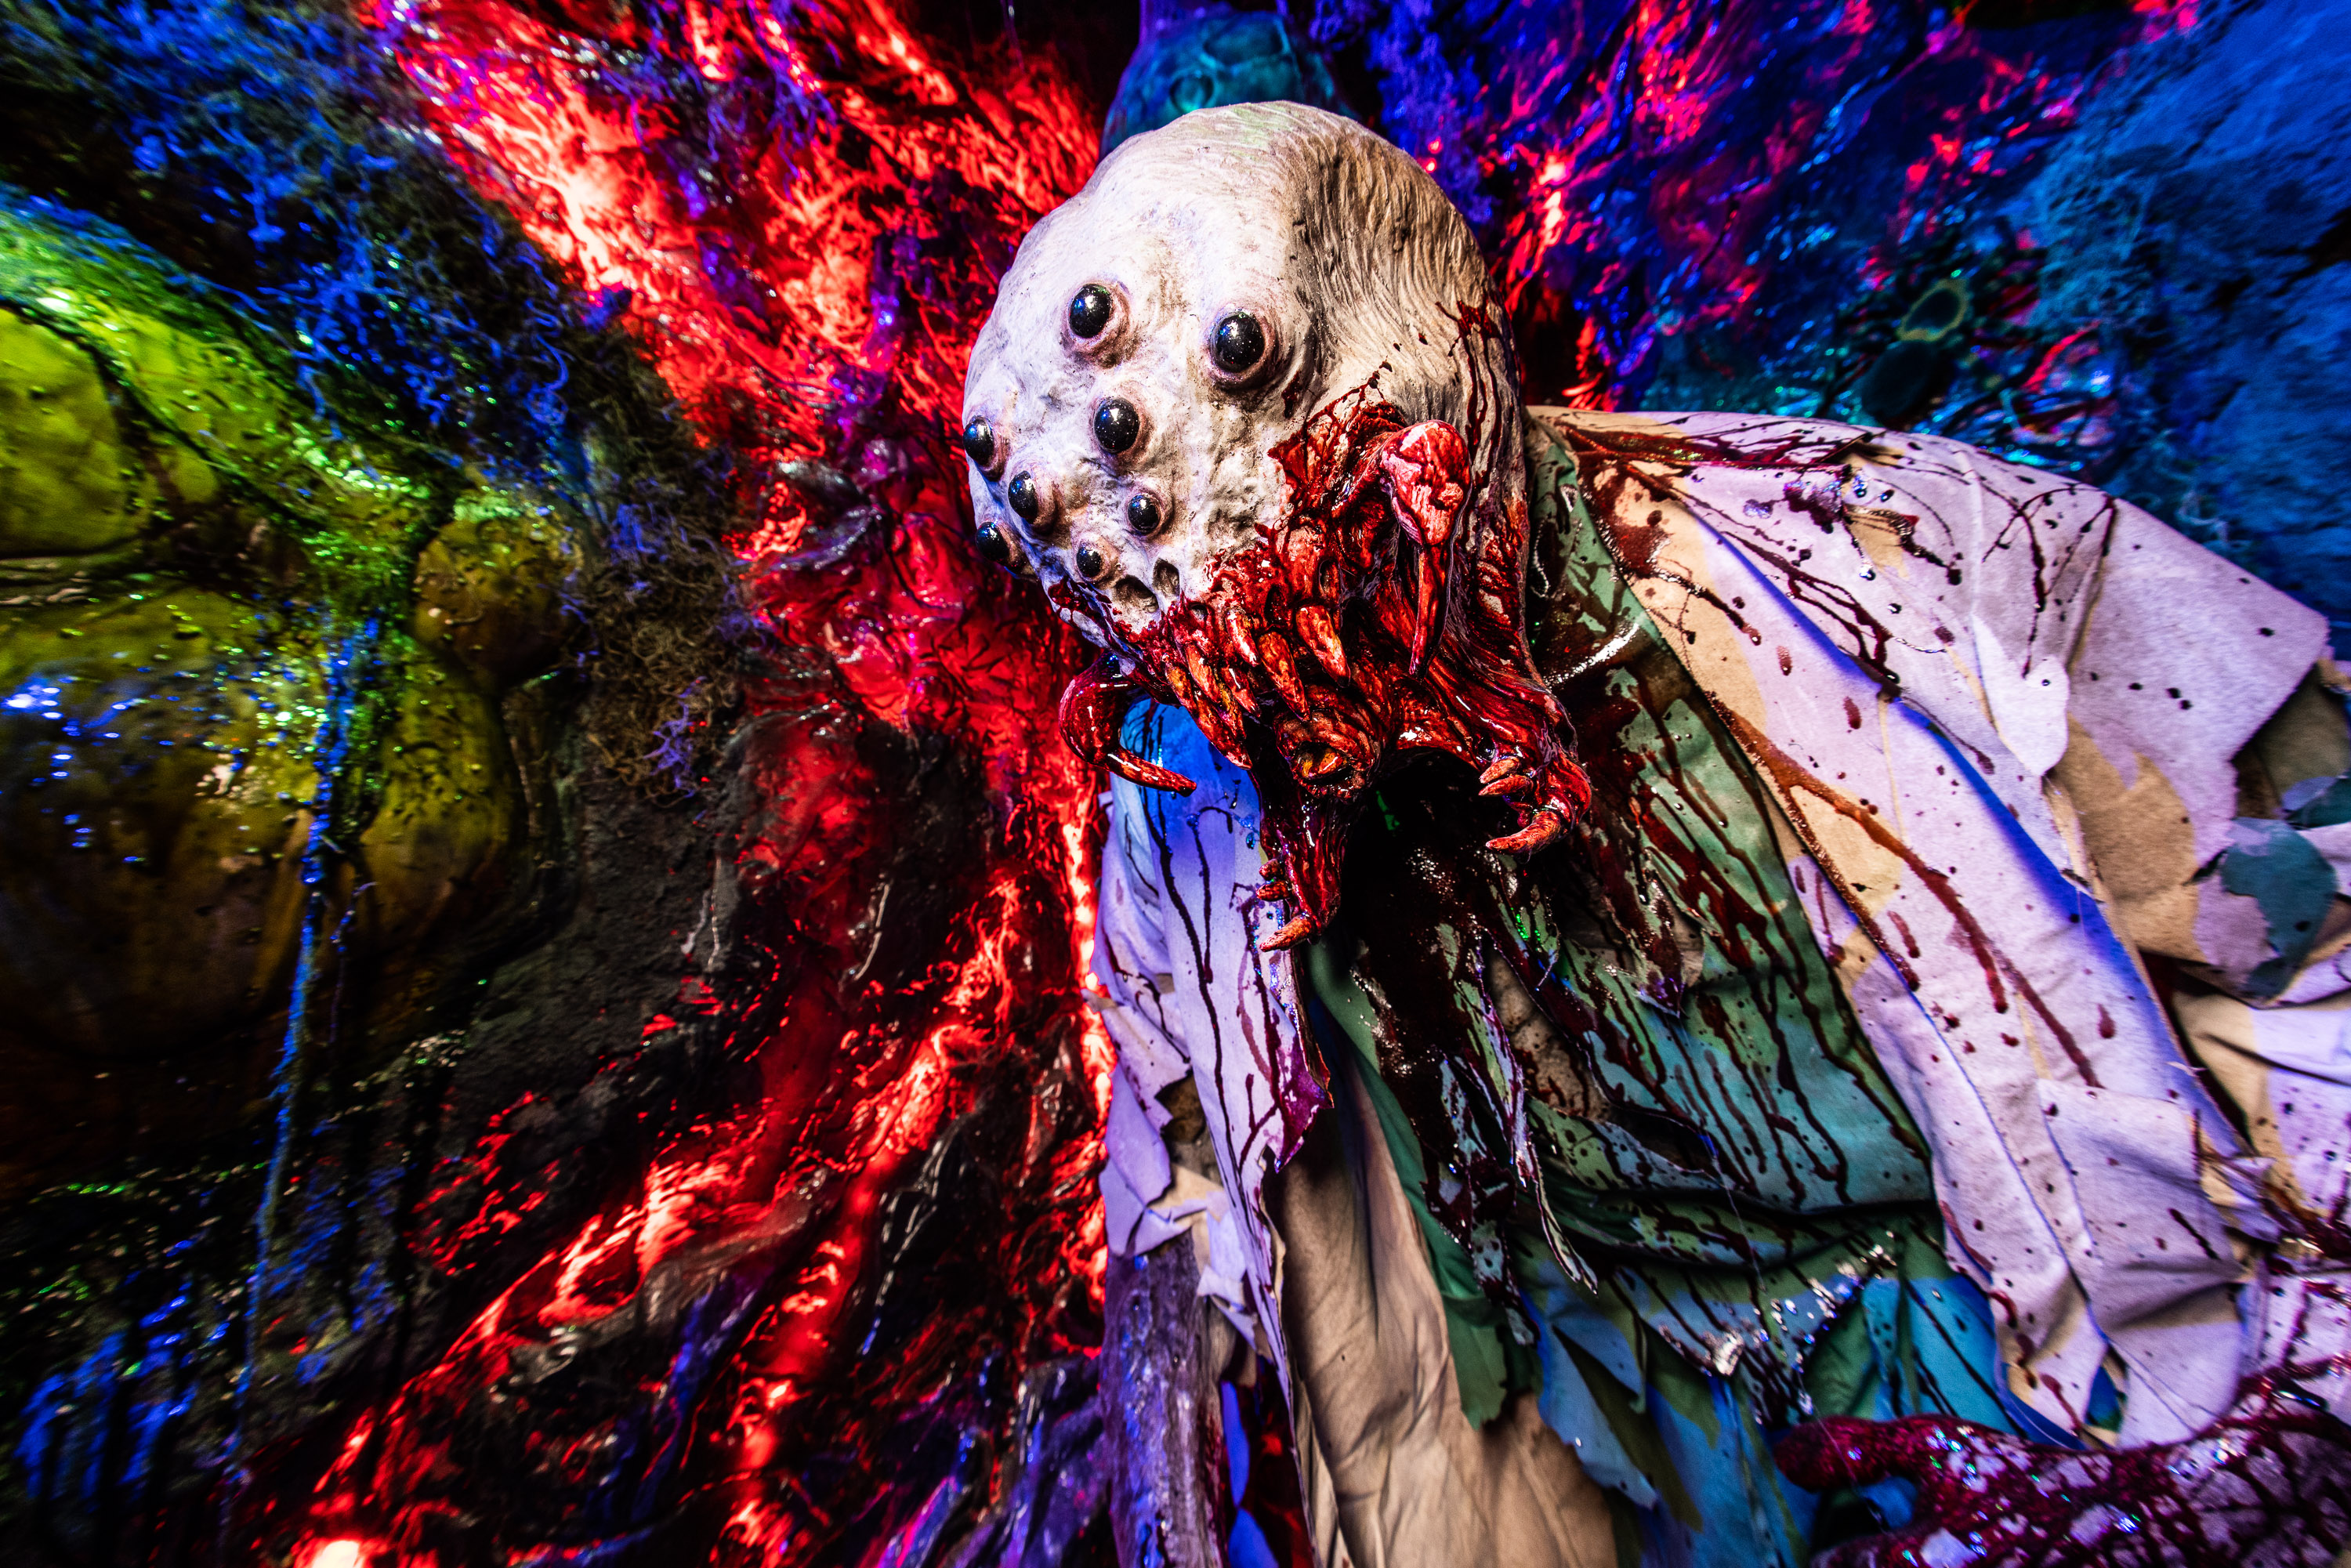
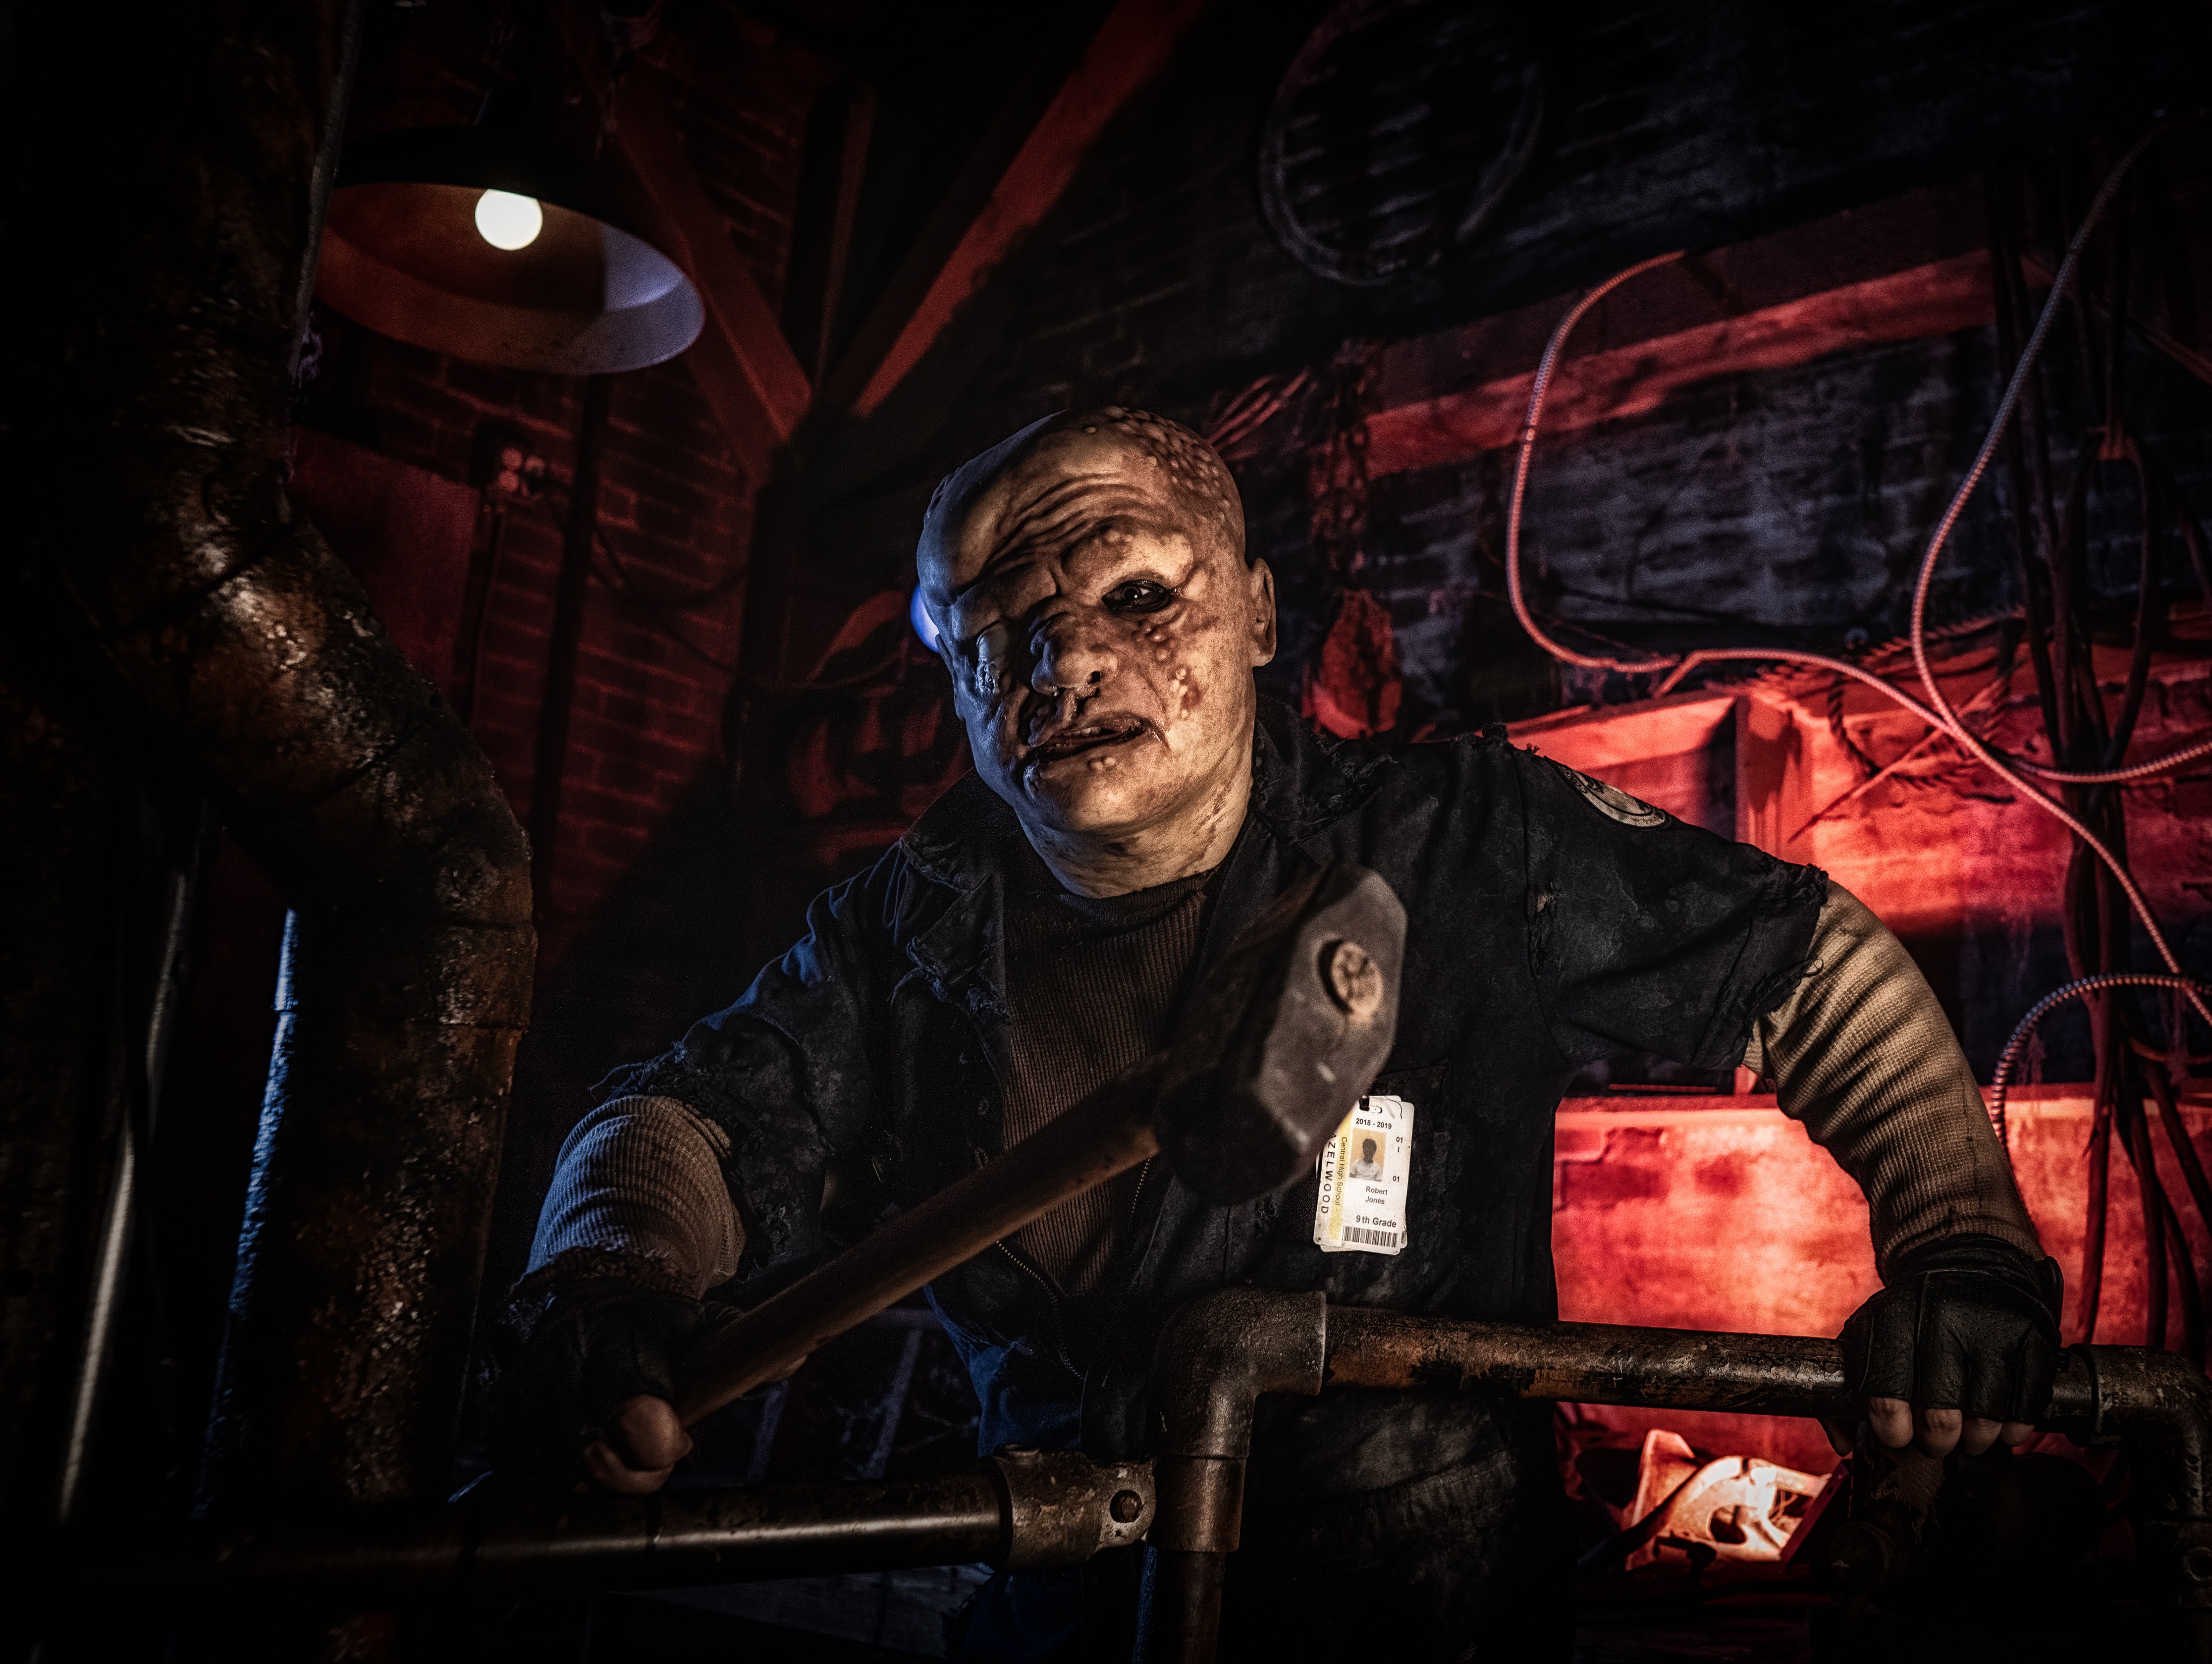
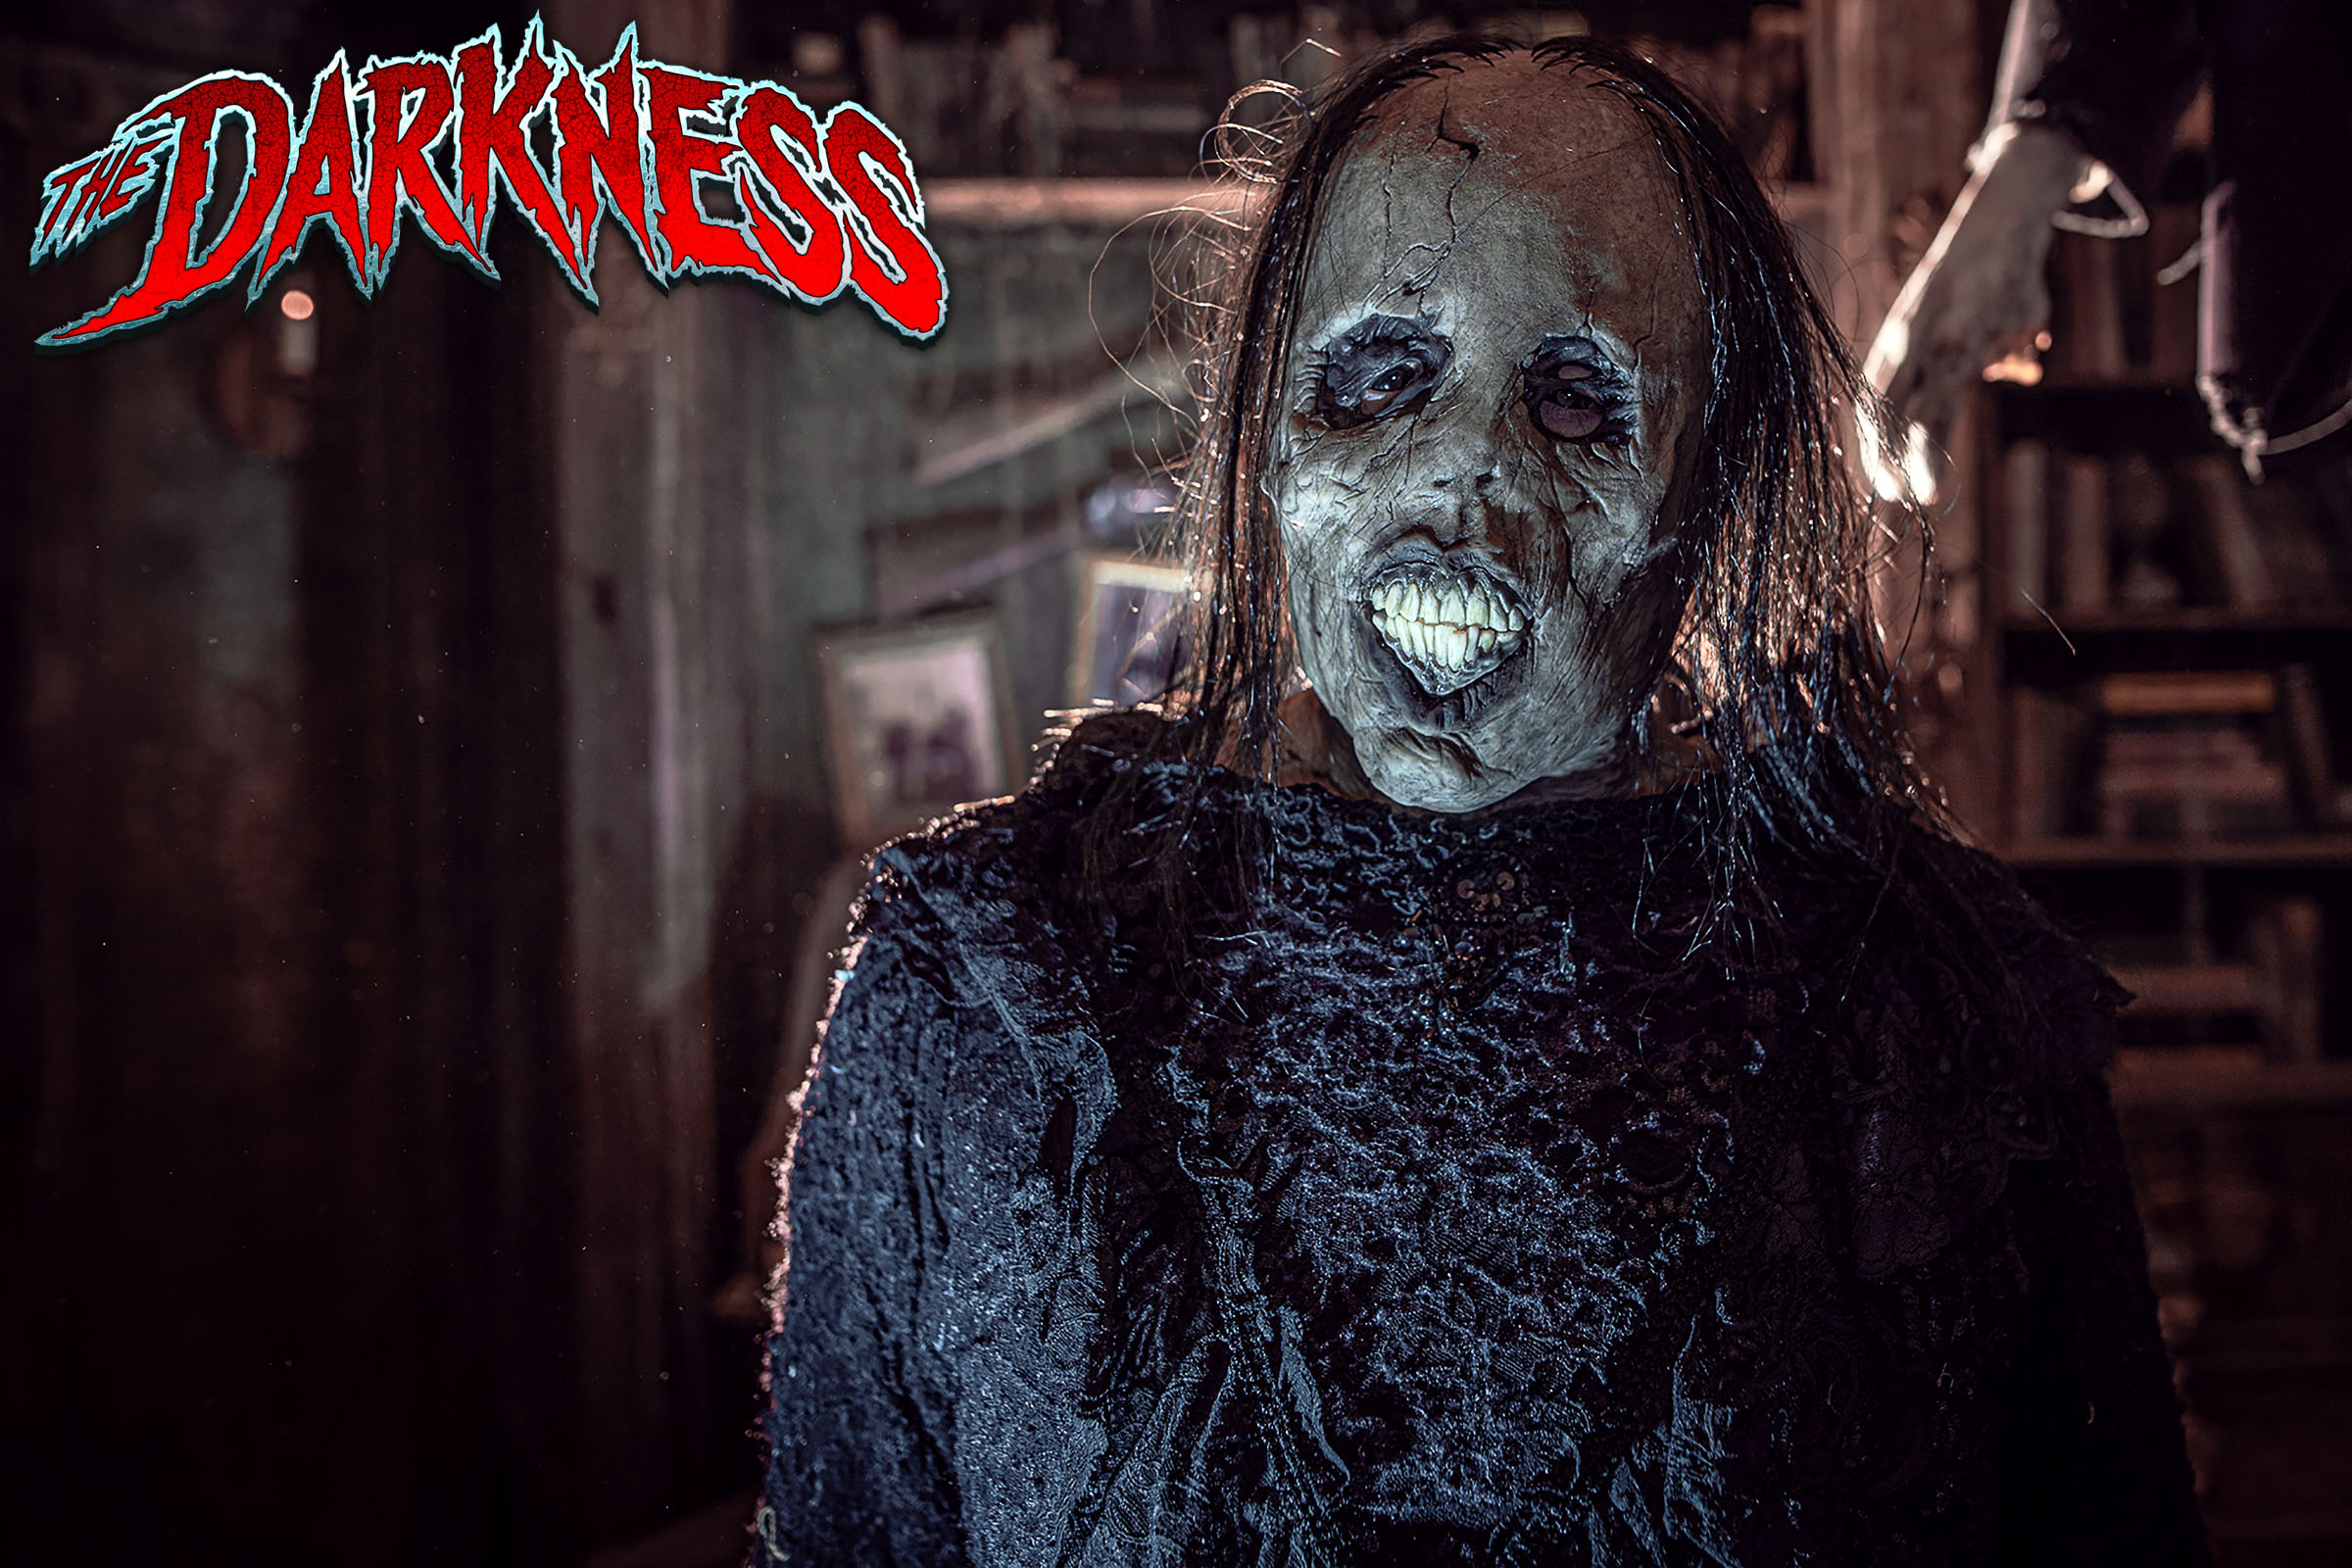
Are you ready to experience the best haunted house in America? How deep into the depths of The Darkness can you plunge before your next breath is your last? The all new Darkness Haunted House, located in Soulard, off South Broadway in downtown St. Louis, Missouri, has been rated as America's BEST haunted house.

Hauntworld ranks the top scary places in America to get SCARED and Scream 2021. The best and top rated haunted houses, and Halloween Attractions in America. Did we rank a haunted house near you find out by clicking on this article.
Hauntworld rates the top 13 best and scariest haunted houses in America. Hauntworld rates and reviews the scariest, best, longest, haunted houses and Halloween Attractions in America 2020.
Hauntworld rates the top 13 best and scariest haunted houses in America. Hauntworld rates and reviews the scariest, best, longest, haunted houses and Halloween Attractions in America 2018.

Read Review and Ratings of Headless Horseman Haunted Hayride located in New York. Headless Horseman features hayrides, haunted houses and much more.

Creepyworld Haunted Screampark is America's biggest haunted attraction with over 13 attractions including a haunted hayride. Learn more and read the review click here.